If you’re gearing up for a big tattoo piece, you already know that sitting for hours can be a real test of endurance. While the pain is part of the process, there’s no award for toughing it out unnecessarily. Tattoo numbing cream can be a game-changer, helping you stay comfortable and still so your artist can do their best work. But to make it last through a long appointment, you need a solid strategy. This isn’t about cheating; it’s about being prepared. We’ve put together the essential tattoo numbing cream application tips you need to know, covering everything from timing to aftercare, ensuring your skin is ready and the numbing effect holds up when you need it most.
Key Takeaways
- Preparation is crucial for effectiveness: To get the best results, choose a cream with a proven anesthetic like lidocaine, perform a patch test 24 hours beforehand, and apply a thick layer under a wrap 60 to 90 minutes before your appointment.
- Always communicate with your artist: Let your tattooer know you’ve used a numbing cream, as it can slightly alter skin texture. It’s also important to speak up if you experience any unusual reactions or if the numbness begins to wear off during a long session.
- Focus on aftercare as the feeling returns: Once the numbing effect fades, your skin’s healing process begins. Follow your artist’s aftercare instructions carefully by keeping the area clean, moisturized, and protected from sun and soaking to ensure your tattoo heals perfectly.
How Does Tattoo Numbing Cream Actually Work?
Ever wondered about the magic behind tattoo numbing cream? It’s not sorcery, just some clever science that can make sitting for a tattoo a bit more comfortable, especially during long sessions or on sensitive spots. Understanding how it works will help you use it safely and effectively, ensuring you have the best possible experience when you come in for your appointment. Let’s break down what’s happening under your skin when you apply that cream.
Know Your Active Ingredients
The secret to any good numbing cream lies in its active ingredients. Most tattoo numbing creams use local anesthetics like lidocaine, prilocaine, or benzocaine. These are the heavy lifters responsible for dulling the pain. Lidocaine is one of the most common and effective agents you’ll find. When you’re shopping for a cream, always check the label for these ingredients. A higher percentage might offer stronger numbing, but it’s crucial to follow the product’s instructions carefully to avoid any issues. Think of these ingredients as the key to temporarily silencing the nerves in the area you’re about to get tattooed.
How Numbing Agents Block Pain
So, how do these ingredients actually stop you from feeling pain? It’s pretty straightforward. Anesthetics like lidocaine work by blocking the nerve signals in your skin. Imagine your nerves are tiny messengers running to tell your brain, “Hey, something is happening here!” When you apply the numbing cream, it essentially puts up a temporary roadblock. The cream seeps into your skin and stops those messengers from sending pain signals to your brain. The result is a numbed sensation in that specific area, allowing your artist to work without you feeling the full intensity of the needle.
How to Choose the Right Cream
Not all numbing creams are created equal, and your skin is unique. When choosing a product, you need to consider any allergies or skin sensitivities you might have. Different skin types can react differently to various formulas, so what works for a friend might not be the best choice for you. It’s always a good idea to look for creams that clearly list their active ingredients—lidocaine, prilocaine, and benzocaine are the ones you want to see. Avoid products with a long list of unknown chemicals or potential irritants. A little research upfront can save you a lot of discomfort later.
Prioritize Your Safety
Your safety is the top priority. Before you even think about applying a numbing cream, make sure you’re choosing a reputable product. Avoid creams with potentially harmful substances and stick to those with proven numbing agents. The best thing you can do is have a conversation with one of our artists before your session. We can offer guidance based on our experience and help you make an informed decision. Always perform a patch test on a small area of your skin 24 hours before you plan to use the cream all over to check for any adverse reactions. Following the instructions on the packaging isn’t just a suggestion—it’s essential for a safe and effective application.
Before You Apply: Essential Prep
A little prep work before you apply numbing cream can make a huge difference in your comfort and the cream’s effectiveness. Think of it as setting the stage for a great tattoo session. Getting these few steps right ensures the cream works as intended and keeps your skin safe and ready for your artist. It’s a simple process that pays off big time when you’re in the chair, so don’t be tempted to skip it. Taking these extra minutes will help you have a much smoother and more comfortable experience, and your tattoo artist will thank you for coming in with perfectly prepped skin. This isn’t just about managing pain; it’s about creating the best possible canvas for the art you’re about to receive. When your skin is properly prepared, the numbing agent can penetrate more deeply and evenly, giving you consistent relief throughout your appointment. It also minimizes the risk of skin irritation, which is the last thing you want to deal with on tattoo day.
Gather Your Supplies
Before you start, get your tools in order. You don’t need much, but having the right items on hand makes the process smooth and clean. You’ll want a pair of disposable gloves to keep the application tidy and prevent the cream from numbing your fingertips—a lesson you only need to learn once! You’ll also need something to cover the area afterward, like a nonstick medical pad or specialized film. While plastic wrap from your kitchen might seem like an easy option, it can trap too much heat and isn’t ideal for your skin. A proper medical covering is breathable and designed to be gentle on the skin.
Prepare Your Skin Correctly
For the numbing cream to do its job, it needs to penetrate your skin effectively. Start by gently washing the area with warm water and a mild, unscented soap. This removes any surface oils or dirt that could act as a barrier. After washing, pat the skin completely dry with a clean towel. For even better results, you can lightly exfoliate the skin a day or two before your appointment. This sloughs off dead skin cells, creating a clear path for the cream to be absorbed and work its magic. Just be sure not to scrub too hard and cause any irritation or breaks in the skin.
Always Do a Patch Test
This step is non-negotiable, especially if you have sensitive skin or are using a new product. A patch test helps you check for any adverse reactions before you commit to covering a larger area. A few days before your appointment, apply a small amount of the cream to a one-inch square of skin near the planned tattoo spot. Cover it as you would for the real application, leave it on for the recommended time, and then wash it off. A little redness is usually fine, but if you experience significant irritation, swelling, or a rash, you’ll know that cream isn’t for you.
Know Which Areas to Avoid
Numbing cream is powerful, so it’s important to use it safely. First, only apply it to the specific, relatively small area you’re getting tattooed. Using it over large sections of your body can be risky. More importantly, never apply numbing cream to broken skin—this includes cuts, scrapes, or areas that have already been tattooed. Applying it to compromised skin can allow the active ingredients to enter your bloodstream directly, which can lead to serious health complications. Always start with healthy, intact skin to ensure a safe and positive experience for you and your artist.
How to Apply Numbing Cream for the Best Results
So, you’ve decided to use numbing cream for your next tattoo—great choice for making the experience a bit more comfortable. But just slathering it on a few minutes before you walk into the shop won’t cut it. To get the pain-dulling results you’re looking for, you need to apply it correctly. It’s all about the prep work, timing, and a few key steps that make a world of difference. Think of it as the first step in your tattoo process. Getting this part right helps ensure a smoother, more relaxed session for both you and your artist.
Get Your Timing Right
Timing is everything when it comes to numbing cream. To get the most out of it, you’ll want to apply the cream about an hour to 90 minutes before your tattoo appointment begins. This gives the active ingredients enough time to fully absorb into your skin and do their job, ensuring the area is as numb as possible when your artist starts working. Rushing the process can mean the cream won’t reach its full potential, leaving you with less-than-ideal results. So, give yourself a generous window of time and plan ahead so you’re not applying it in a hurry on your way to the shop.
A Step-by-Step Application Guide
Applying the cream correctly is just as important as timing. Here’s a simple guide to follow for the best outcome:
- Clean the area: Start by washing the skin where you’ll be getting tattooed. Use a mild, antibacterial soap and warm water, then gently pat it dry with a clean paper towel. This removes any oils or dirt that could prevent the cream from absorbing properly.
- Apply a thick layer: Don’t be shy with the cream. You want to apply a thick, even layer over the entire tattoo area—think of it like frosting a cake. Make sure you extend the cream about a half-inch beyond where the tattoo will be. It’s important that you don’t rub it all the way in. This guide on how to numb skin before a tattoo offers more great tips.
Cover and Wrap for Maximum Effect
Once you’ve applied the cream, the next step is crucial for making it work effectively. You need to cover the area with plastic wrap (the kind from your kitchen works perfectly). This traps heat and moisture, which helps your skin absorb the cream and prevents it from drying out and becoming less potent. A clear, waterproof wound dressing also works well. Make sure the wrap is snug but not uncomfortably tight. This simple step is a game-changer and ensures you get the maximum numbing effect from the product you’re using.
Common Mistakes to Avoid
To keep your tattoo experience safe and positive, there are a few key things to avoid. First, never apply numbing cream to broken, cut, or already tattooed skin that isn’t fully healed. This can cause the active ingredients, like lidocaine, to absorb directly into your bloodstream, which can be risky. Always wear gloves when you apply the cream to avoid numbing your fingertips and to keep the area sterile. You can find community discussions about the proper use of numbing cream that highlight how important these safety steps are.
How Long Should You Leave It On?
For the best results, you should leave the numbing cream on, fully wrapped, for at least 60 minutes. If you have the time, leaving it on for 90 minutes is even better. This gives the cream ample time to penetrate the deeper layers of your skin. Once your artist removes the wrap and cleans your skin, the numbing effect should last for about four to six hours. This is usually long enough to get you through a decent portion of your session, especially for larger pieces. Just remember to let your artist know you’ve used it when you arrive for your appointment.
During Your Tattoo Session
You’ve done the prep work, and now you’re settled in the chair, ready for your new art. The numbing cream has done its job, and the initial buzz of the tattoo machine is less intimidating. But your role isn’t over yet. Staying comfortable and safe during your session requires a bit of mindfulness and clear communication. Think of it as a partnership between you and your artist. Keeping them in the loop and paying attention to your body ensures the process goes smoothly from the first line to the final wipe-down. Here’s what you need to know once the needle starts moving.
Talk to Your Artist
The most important thing you can do is keep an open line of communication with your tattooer. Always give your artist a heads-up that you’ve used a numbing cream before they start working. This isn’t just a courtesy; it’s crucial information. Some creams can temporarily change the texture of the skin, and knowing this helps the artist adjust their technique accordingly. Our team of artists is here to give you the best possible tattoo, and transparency helps them do their job safely and effectively. Don’t be shy—a quick conversation ensures everyone is on the same page and comfortable, setting the stage for a great experience.
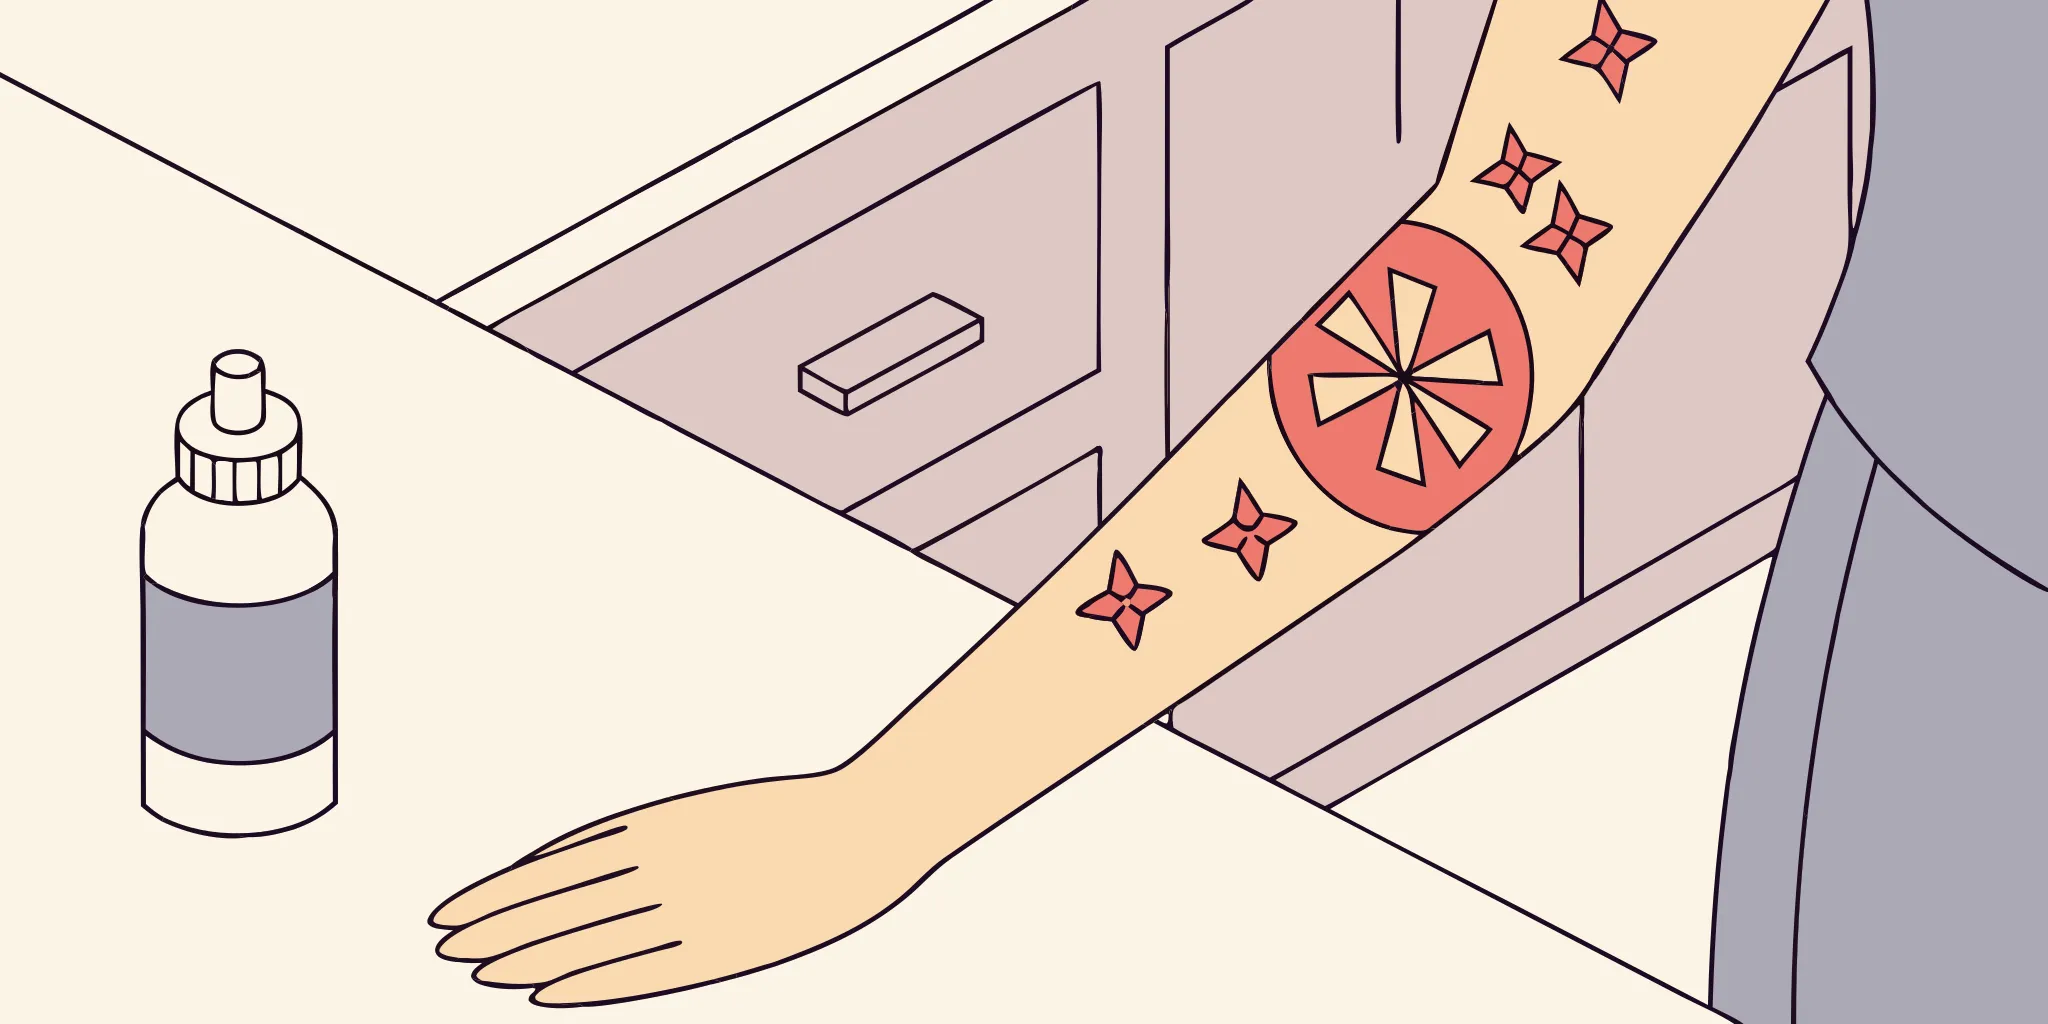
Watch for Any Skin Reactions
Even if your patch test went perfectly, keep an eye on your skin during the session. Your body is under a bit of stress, and it’s smart to be aware of any unusual changes. A little redness and swelling are normal parts of the tattoo process, but if you notice excessive irritation, intense itching, or hives, let your artist know immediately. If you know you have sensitive skin, it’s always best to choose a numbing cream specifically formulated for it. Your safety is our top priority, and we want to make sure your skin is handling both the cream and the ink without any issues.
Tips for Longer Tattoo Sessions
If you’re in for a larger piece that will take several hours, the numbing effect will eventually start to fade. For sessions lasting more than four hours, you might feel sensation returning to the area. This is a good time to check in with your artist and take a short break. Use this time to stretch, have a snack, and drink some water to keep your blood sugar stable. Staying hydrated and nourished is just as important as numbing the skin for managing pain and helping your body endure a long tattoo session. A little self-care goes a long way in making the experience more manageable.
Should You Reapply the Cream?
For extensive work like a full sleeve or back piece, you may need to reapply numbing cream to get through the entire session. This should only be done during a scheduled break and always with your artist’s approval. They will guide you on the best way to do it without compromising the stencil or the un-tattooed skin. Typically, you’ll apply a thick layer to the next area to be worked on and let it sit while the artist takes their own break. You can find more details about our shop policies on our info page, but remember that clear communication in the moment is key.
After Your Session: Post-Numbing Care
Once the needle stops, the aftercare begins. This part is just as crucial as the tattoo session itself, especially if you used a numbing cream. As the cream’s effects wear off, you’ll start to feel the area again, and your skin will begin its natural healing process. Don’t worry—this is all part of the journey to a beautifully healed tattoo. Your main job now is to keep the area clean, moisturized, and protected from irritation.
Following a solid aftercare routine ensures your new ink looks sharp and vibrant for years to come. The steps are simple, but consistency is key. Your artist will give you specific instructions, and it’s important to follow them closely. Think of it as the final step in creating your art. Proper care helps your skin recover smoothly and prevents complications, making sure your tattoo heals exactly as it should. For our general tattoo care guidelines, you can always check out our shop info page.
Clean and Moisturize the Area
The first rule of tattoo aftercare is to keep it clean. After you remove the initial bandage (your artist will tell you when), you’ll need to wash the tattoo. Use a gentle, fragrance-free soap and lukewarm water—hot water can cause irritation. Lather the soap in your hands and gently wash the area with your fingertips, not a washcloth. Pat it dry with a clean paper towel and let it air out for a few minutes. Once it’s completely dry, apply a very thin layer of a recommended aftercare lotion. Moisturizing is essential for helping your skin cells regenerate and keeping itchiness at bay.
Monitor Your Healing Tattoo
Pay close attention to your new tattoo as it heals. It’s normal to see some redness, swelling, and even a little oozing in the first couple of days. As the healing continues, your skin will likely start to peel or flake, much like a sunburn. This is a good sign! It means new skin is forming. The most important thing is to resist the urge to pick or scratch at it. Let the flakes fall off naturally. Pulling them off prematurely can pull out ink and lead to patchiness in your finished tattoo. Just keep the area clean and lightly moisturized, and let your body do its work.
Help Your Skin Recover
Your skin has been through a lot, so give it some help to recover properly. Avoid any harsh products, including soaps with heavy fragrances or exfoliants, as these can irritate the sensitive area. Wear loose, soft clothing over your tattoo to prevent rubbing and friction. For the first few weeks, you’ll also need to avoid soaking your tattoo. That means no long baths, swimming pools, hot tubs, or ocean dips until it’s fully healed. Sun exposure is another major no-go. Keep your new tattoo covered or in the shade, as UV rays can damage the skin and fade your ink.
When to Get Professional Advice
While some redness and swelling are normal, it’s important to know the signs of a potential issue. If you notice excessive swelling that doesn’t go down, pus, a foul smell, or red streaks extending from the tattoo, it could be a sign of an infection. Similarly, if you develop a fever or just feel unwell, it’s time to get it checked out. Your first point of contact should be your artist, but don’t hesitate to see a doctor. If you have any concerns about how your tattoo is healing, please don’t wait. You can always contact our shop with questions.
Related Articles
Frequently Asked Questions
Will using a numbing cream affect how my tattoo turns out? This is a common concern, and the short answer is no—as long as you use it correctly. A quality numbing cream applied according to the instructions won’t interfere with the ink or the healing process. However, some creams can change the skin’s texture temporarily, so it’s essential that you choose a reputable product and, most importantly, let your artist know you’ve used one. This allows them to work with your skin effectively and ensures your tattoo looks exactly as it should.
What does it actually feel like to get tattooed after using numbing cream? Don’t expect to feel absolutely nothing. Numbing cream is designed to significantly dull the pain, not eliminate it completely. Most people describe the sensation as a dull pressure or a light scratching rather than the sharp sting of the needle. It takes the edge off, especially in notoriously painful spots, making it much easier to sit still and relax through your session.
How long will the numbing sensation last during my appointment? Typically, the peak numbing effect lasts for about four to six hours after you remove the wrap. This is usually enough time to get through a medium-sized piece or a significant portion of a larger one. If you’re booked for a very long session, the feeling will gradually start to return. You can plan for this with your artist and schedule breaks accordingly.
Is it safe to use numbing cream on sensitive areas like my ribs or feet? Yes, numbing cream is a great tool for making tattoos on sensitive areas more manageable. The key is to use it safely. Always perform a patch test first to check for irritation, and never apply the cream to broken skin, cuts, or scrapes. As long as the skin is healthy and intact, you can use it to take the edge off those more intense spots.
Do I have to tell my artist that I used a numbing cream? Absolutely. Giving your artist a heads-up is not just a courtesy, it’s a crucial part of the process. Knowing you’ve used a numbing cream helps them understand your skin’s condition and adjust their technique if needed. Open communication ensures a safe and smooth session for everyone and helps us give you the best possible tattoo.